Connect to the Database
If you have followed the steps from the Install PostgreSQL page, you now have a PostgreSQL database on you computer.
There are several ways to connect to the database, we will look at two ways in this tutorial:
- SQL Shell (psql)
- pgAdmin 4
Both of them comes with the installation of PostgreSQL
SQL Shell (psql)
SQL Shell (psql) is a terminal based program where you can write and execute SQL syntax in the command-line terminal.
Open SQL Shell (psql)
You will find the SQL Shell (psql) tool in the start menu under PostgreSQL:
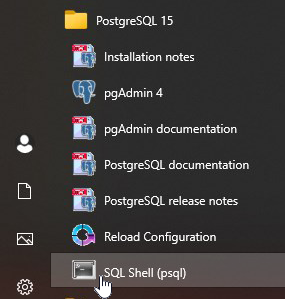
Tip: If you cannot find it, try searching for "SQL Shell" on your computer.
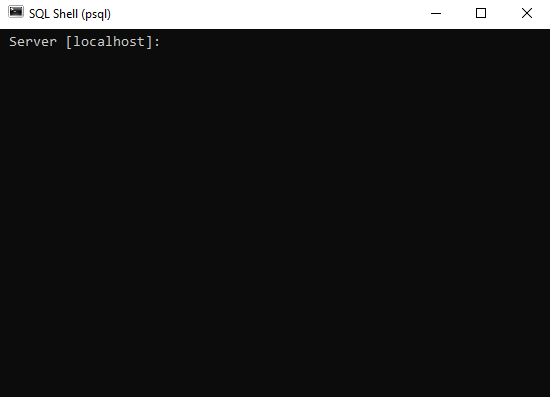
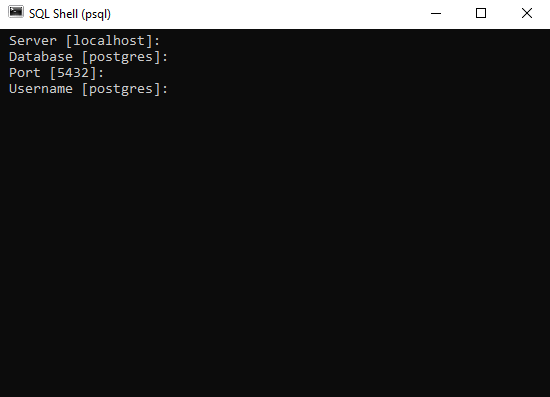
Once the program is open, you should see a window like the one below.
Insert the name of the server.
The suggested choice is [localhost], which is correct, press [Enter] to accept:
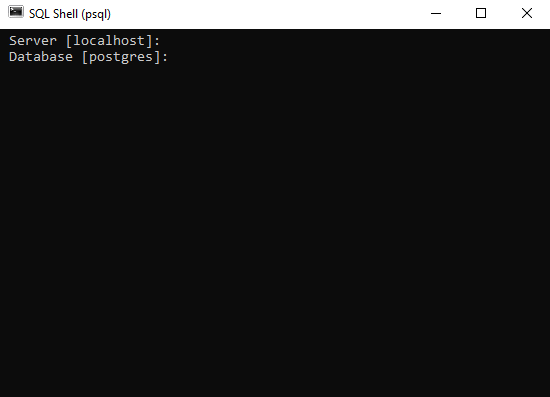
Database
The suggested database is [postgres], which is correct, press [Enter] to accept:
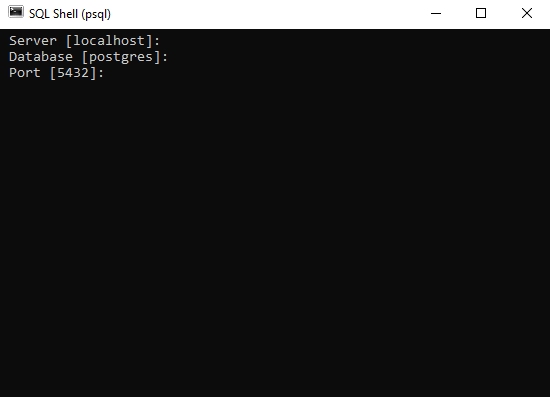
Port
The suggested port is [5432], which is correct, at least in my case, press [Enter] to accept:
Username
The suggested username is [postgres], which is correct, at least for me, press [Enter] to accept:
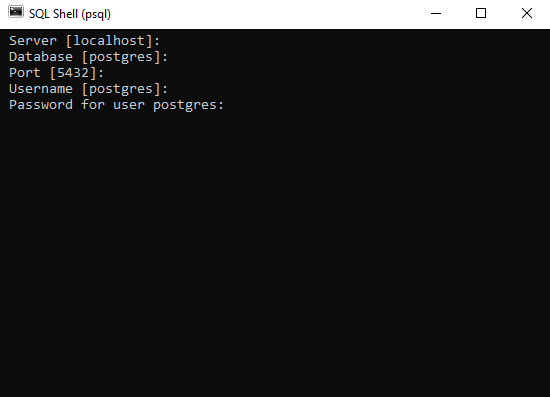
Password
Enter the password you chose when you installed the PostgreSQL database, my password is 12345678:
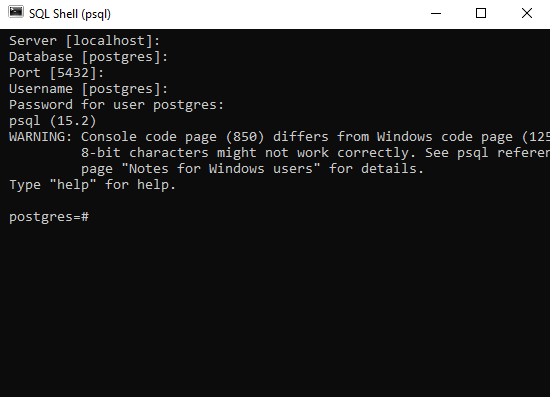
Result
The result might look like an error, but if it shows psql (15.2) or any other version, and in the end you see the postgres=# command (and maybe a warning in between), then you have successfully connected to the database!
Execute SQL Statements
Once you have connected to the database, you can start executing SQL statements.
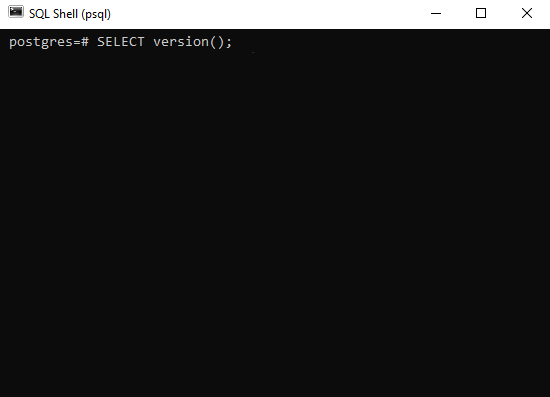
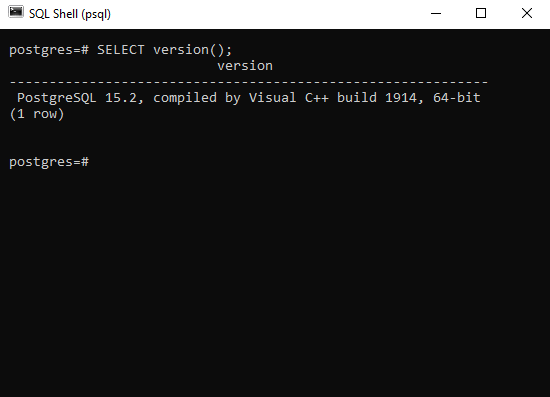
Our database is empty, so we cannot query any tables yet, but we can check the version with this SQL statement:
SELECT version();
To insert SQL statements in the SQL Shell command, just write them after the postgres=# command like this:
Press [Enter] and the result should look like this:
Remember the Semicolon
Note: Always end SQL statements with a semicolon
;
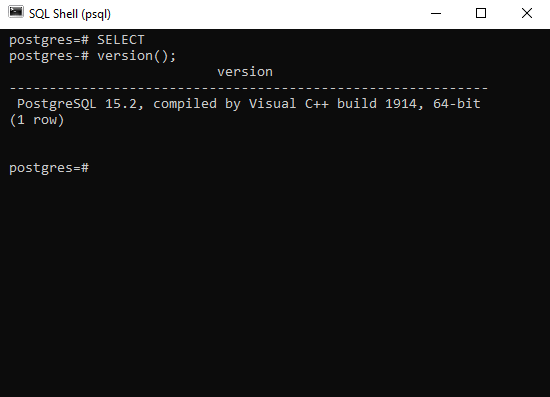
SQL Shell waits for the semicolon and executes all lines as one SQL statement.
A multiple lines SQL statement is not executed before we include a semicolon at the end.
Example
Now we are ready to create tables and fill them with data, but first we want to take a look at an application called pgAdmin 4.
Learn more about pgAdmin 4 in the next chapter.
