React's goal is in many ways to render HTML in a web page.
React renders HTML to the web page via a container, and a function called createRoot().
The Container
React uses a container to render HTML in a web page.
Typically, this container is a <div id="root"></div> element in the index.html file.
If you have followed the steps in the previous chapter, you should have a file called index.html in the root directory of your project:
Example
<!doctype html>
<html lang="en">
  <head>
    <meta charset="UTF-8" />
    <link rel="icon" type="image/svg+xml" href="/favicon.svg" />
    <meta name="viewport" content="width=device-width, initial-scale=1.0" />
    <title>my-react-app</title>
  </head>
  <body>
    <div id="root"></div>
    <script type="module" src="/src/main.jsx"></script>
  </body>
</html>
To better understand the content of the index.html file, let's remove all the code we don't need.
Example
<!doctype html>
<html lang="en">
  <body>
    <div id="root"></div>
    <script type="module" src="/src/main.jsx"></script>
  </body>
</html>
The file is now stripped from unnecessary code, and we can concentrate on learning React without any disturbing elements.
The createRoot Function
The createRoot function is located in the main.jsx file in the src folder, and is a built-in function that is used to create a root node for a React application.
Example
import { StrictMode } from 'react'
import { createRoot } from 'react-dom/client'
import './index.css'
import App from './App.jsx'

createRoot(document.getElementById('root')).render(
  <StrictMode>
      <App />
    </StrictMode>
  )
The createRoot() function takes one argument, an HTML element.
The purpose of the function is to define the HTML element where a React component should be displayed.
To better understand the createRoot function, let's remove unnecessary code and write our own "Hello React!" example:
Example
import { createRoot } from 'react-dom/client'

createRoot(document.getElementById('root')).render(
  <h1>Hello React!</h1>
)
If you save the file, the result in the browser will look like this:
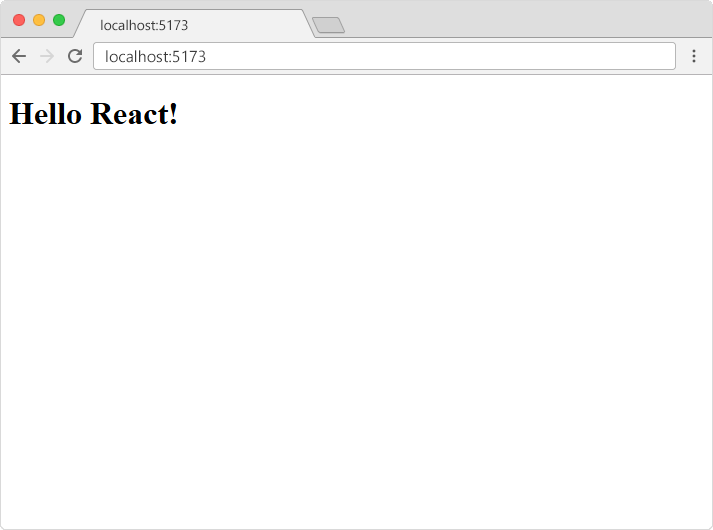
The render Method
Did you notice the render method?
The render method defines what to render in the HTML container.
The result is displayed in the <div id="root"> element.
Example
import { createRoot } from 'react-dom/client'

createRoot(document.getElementById('root')).render(
  <p>Welcome!</p>
)
The result will look like this:

Note: the element id does not have to be "root", but this is the standard convention.
Show React
W3Schools has its own "Show React" tool where we will show the result of the code we explain in the tutorial.
Click the "Run Example" button to see the result:
Example
import { createRoot } from 'react-dom/client'

createRoot(document.getElementById('root')).render(
  <p>Welcome!</p>
)
The HTML Code
The HTML code in this tutorial uses JSX which allows you to write HTML tags inside the JavaScript code:
Don't worry if the syntax is unfamiliar, you will learn more about JSX later in this tutorial.
Example
import { createRoot } from 'react-dom/client'

const myelement = (
  <table>
    <tr>
      <th>Name</th>
    </tr>
    <tr>
      <td>John</td>
    </tr>
    <tr>
      <td>Elsa</td>
    </tr>
  </table>
);

createRoot(document.getElementById('root')).render(
  myelement
)
The Root Node
The root node is the HTML element where you want to display the result.
It is like a container for content, managed by React.
It does NOT have to be a <div> element and it does NOT have to have the id='root':
Example
<!doctype html>
<html lang="en">
  <body>
    <header id="sandy"></header>
    <script type="module" src="/src/main.jsx"></script>
  </body>
</html>
